

Sometimes you just need to print.
Adding a print button to a Power Apps Portals page is pretty simple.
In the portal studio on the page where you want to add the print button, open up the source code editor.
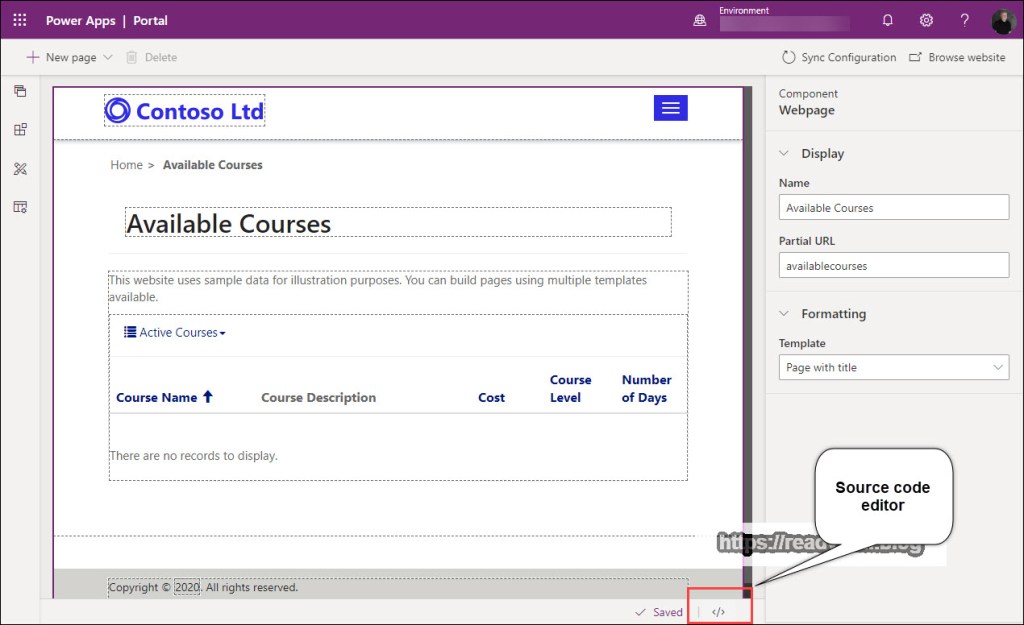
This will open the source code editor where you can add your own HTML, CSS, Liquid, JavaScript, etc.
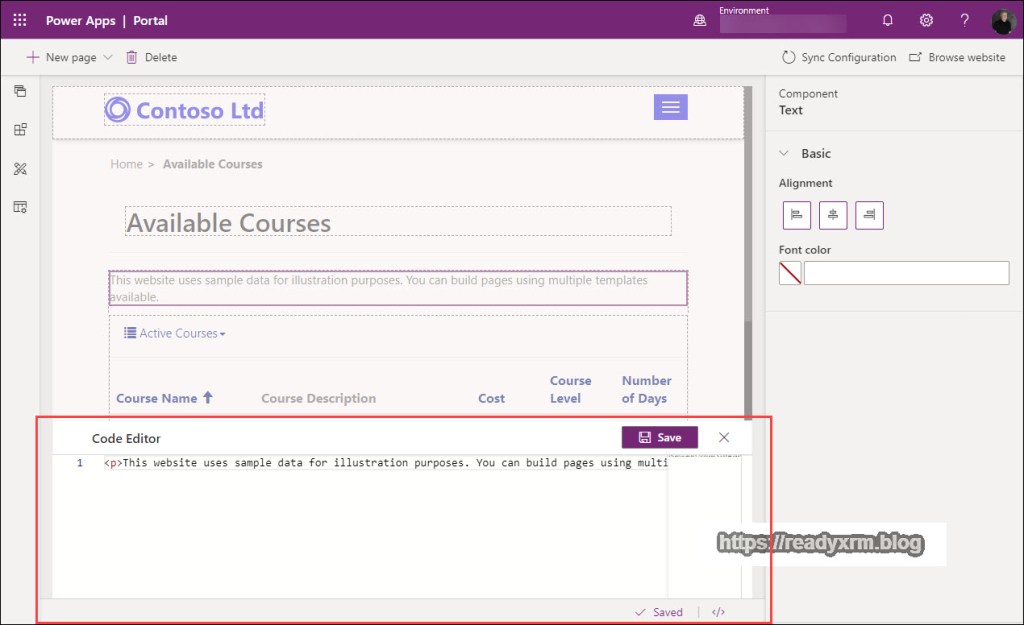
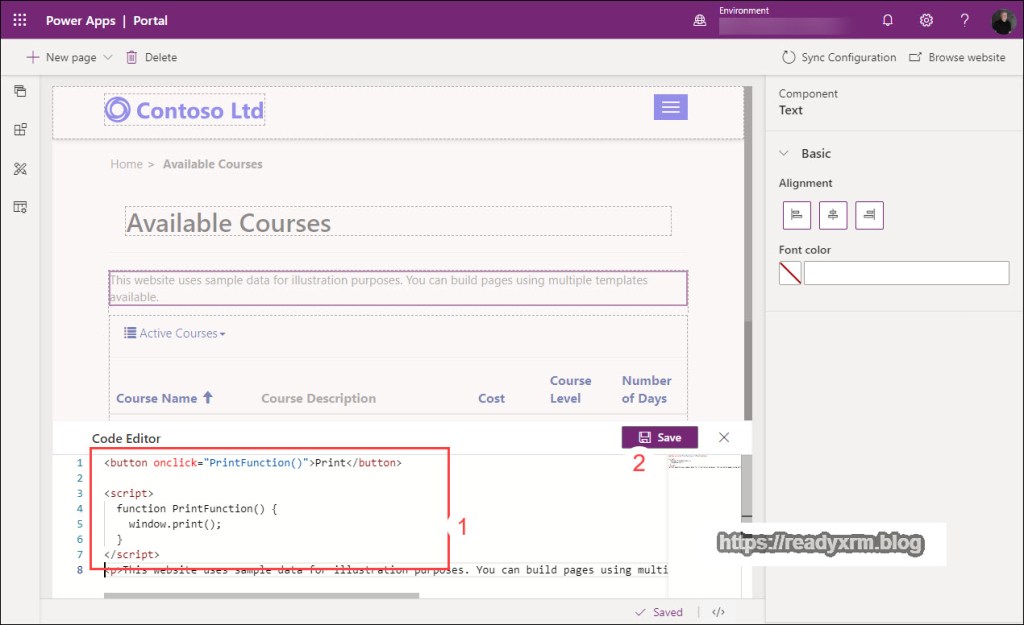
Paste in the following code:
<button onclick="PrintFunction()">Print</button>

<script>
  function PrintFunction() {
    window.print();
  }
</script>
Click Save, you should then see the Print button rendered on your canvas. Browse to the website to view your page.
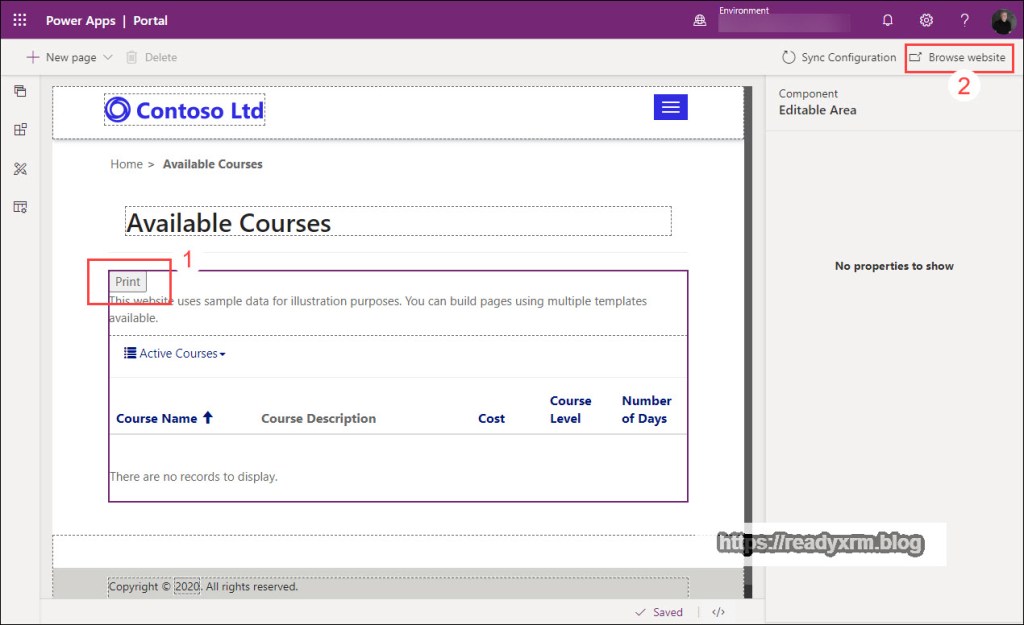
You will see the print button rendered on the page.
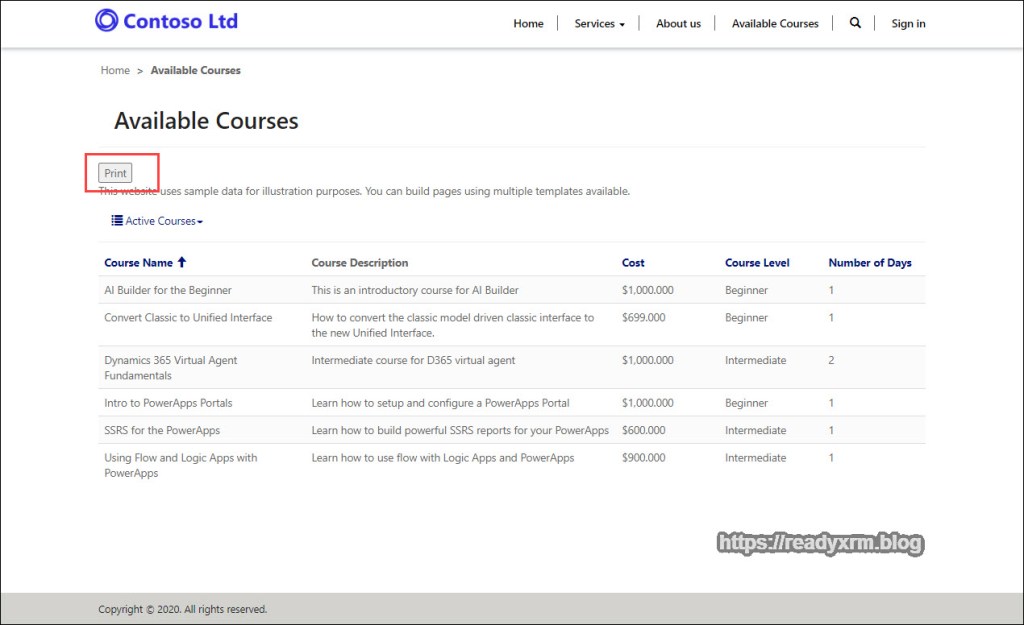
Printing will show a preview, note that some components like entity lists may affect how the actual print out looks.

I had a question from a student, asking how to remove page header and footer while printing. I figured out that you can manipulate the @page object CSS and reduced the upper and lower margin to remove the header and footer.
@page {
    margin-top: 0cm;
    margin-bottom : 0cm;
}
Summary
In a real project might want to add some CSS to make the button a bit prettier. This concept is not to produce a pixel perfect, rendered document, but a quick and easy way to add a print button for your portal users.
Cover Photo by Museums Victoria on Unsplash
Nick Doelman is a Microsoft Business Applications MVP who still uses a paper notebook and every so often will print a document. Follow Nick on Twitter @ReadyXRM
Interested in learning about Power Apps Portals? Sign-up for the Power Apps Portals Fundamentals class today!


Nice! Here is a variation we used to add the print button next to the ‘Next’ button on a Web Form
function addPrintButton() {
var ctl = $(“#NextButton”);
var button = $(”);
ctl.parent().after(button);
};
LikeLike
ha! well, the HTML was escaped … see if this works
var ctl = $(“#NextButton”);
var button = $(‘<input type=”button” onclick=”window.print()” class=”btn btn-primary button next submit-btn” value=”Print” />’);
ctl.parent().after(button);
LikeLike
Thanks Jim!
LikeLike
Reblogged this on Microsoft Dynamics 365 CRM.
LikeLike
can i print the entity list row wise ?
LikeLike
Do you mean print just specific rows of the entity list? One way to would be to create a details page for the rows and add the print button to that. If you want to print a selection of rows, you might want to add some filters to the entity list and then print. Note that you can also download the entity list to excel. Going beyond that, the next thing is maybe investigate some JavaScript libraries that could potentially help with this.
LikeLike