

A common design pattern for Dynamics 365 Portals is to display a list of Dynamics 365 records and provide a mechanism to drill down into the details of each of these records on a list.
This structure is setup by creating web pages, entity list, entity form and then wiring it all together. While not difficult, doing this many times can become tedious and with all the records can get confusing.

In the 8.3 release of portals, a tool was provided to speed up the process of creating this particular structure quickly.
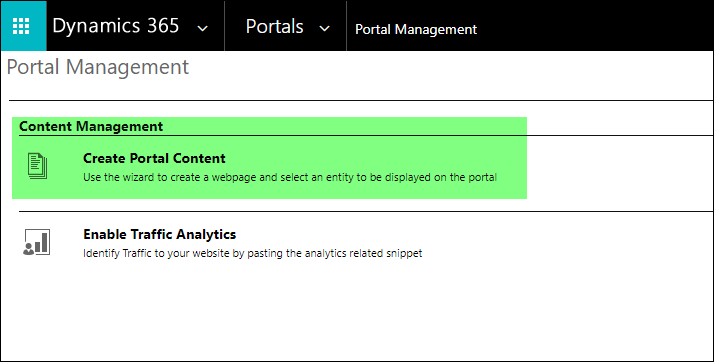
Within Dynamics 365, navigate to the Portals area (assuming you have portals installed) and click on the Portal Management button/section(?)

You will then see the Portal Management Area. Choose the “Create Portal Content” link.
The Create Portal Content Page will appear. In my example, I want to create a page on the portal to show a list of invoices and allow a user to drill down to see the invoice details.
You will need to choose the website, provide a page name, a page template (layout) and some other details. Choosing “Display organization entity in the portal” will expand the form to gather some more details such as the actual entity, the form and the view(s).
I generally create portal specific forms and views using standard Dynamics 365 customization. I usually name them “zPortal – xx” to keep them grouped together and to indicate to other customizers that these configured specifically for portal forms and views.
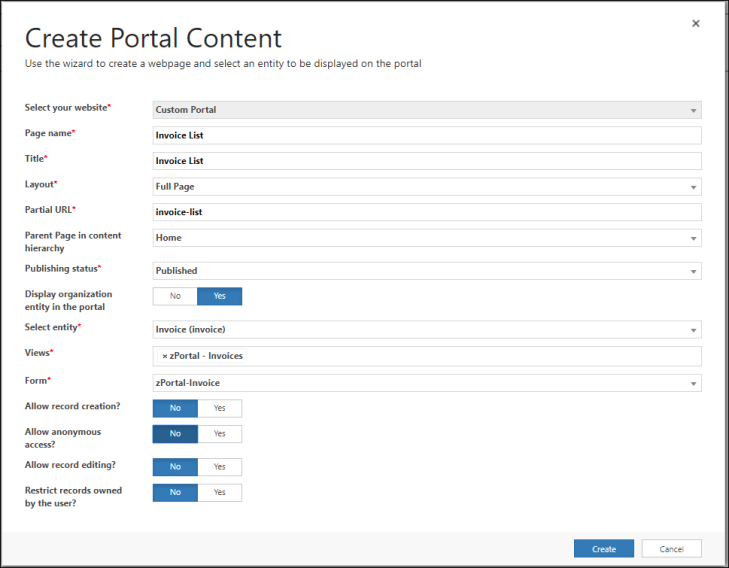
In this case I just want to view the data, but we could configure the process to build data entry and edit forms as well.
Click “Create”.
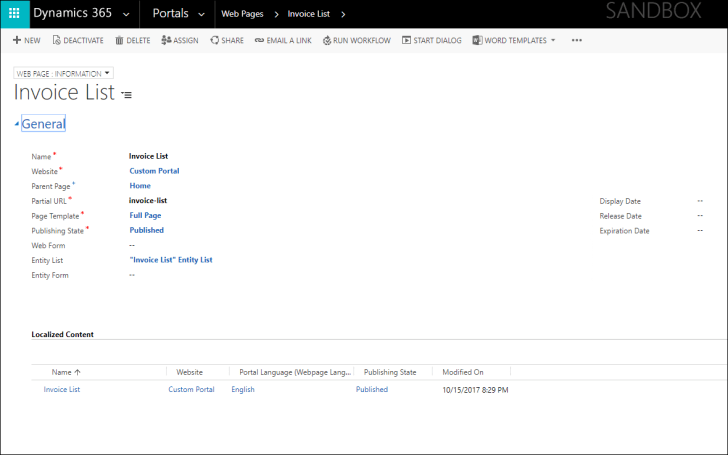
After about a minute, you will be navigated to the new web page that will host the entity list for the entity we choose. Here we can “polish up” the details and add other settings, etc.
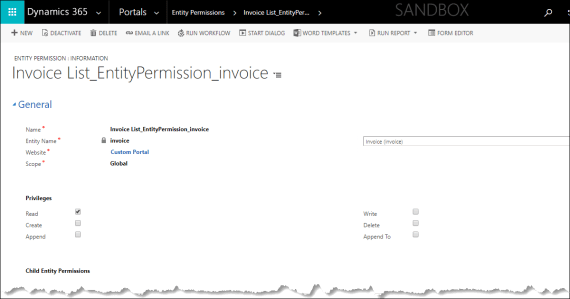
You will need to configure portal entity permissions for the particular entity if you have not already done so. In my example I provided global rights to all authenticated users. In a live system you would want to limit access based on user roles and what data customers can see.

The other thing that will need to be done is to create a way to navigate to these pages.
Logging into the portal with a user with portal administrator webrole will allow me to create a weblink to my new page (this could have been done within Dynamics 365 as well by creating a weblink record).
Add the new weblink pointing the page that was created using the Portal Content Wizard.

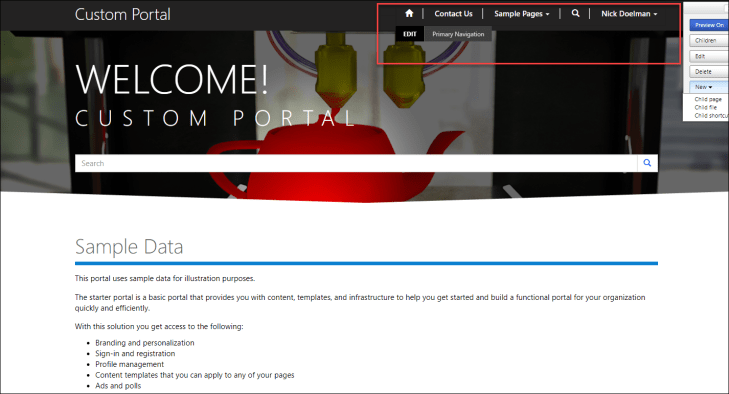
The link will now appear on the main menu.

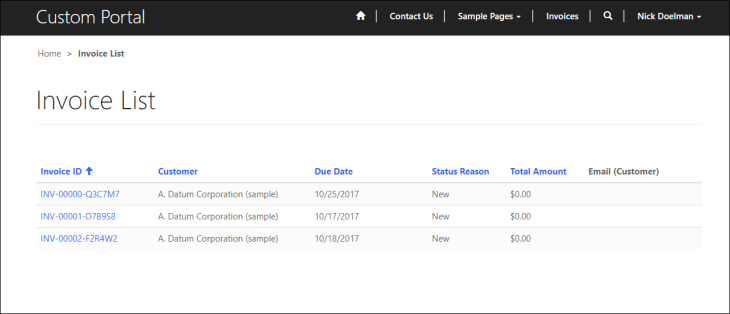
If the entity permissions have been setup, a page showing a listing should appear:
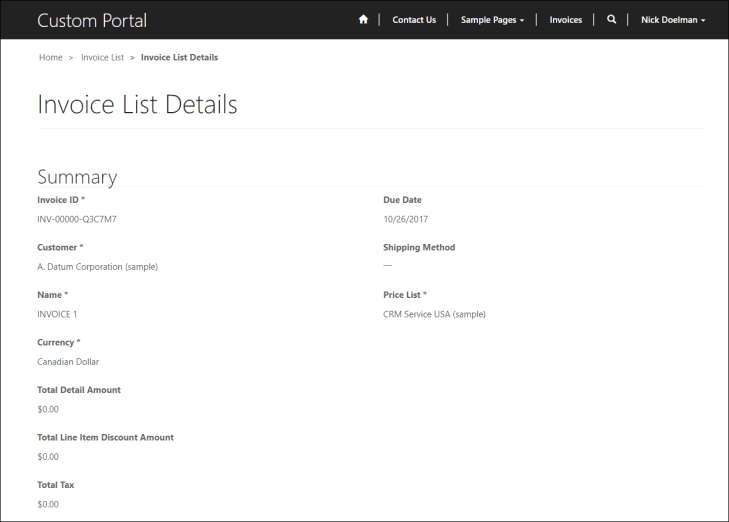
You can also drill down into each record to view the details:
Even though we still needed to create a web link and setup entity permissions, this process did not take long to create a simple view with a drill down to a form on the Portal.
The Create Portal Content “wizard” is a valuable tool for any portal developer/designer to quickly create the basic scaffolding to display data from Dynamics 365 CE.
Life is too short to spend time creating simple portal pages.

Hope this tip helps you on your next portal project!
Nick Doelman is a Microsoft Business Solutions MVP and is recovering from a cold acquired at the CRMUG Summit. (Which was awesome BTW, the conference, not the cold)


One thought on “Quickly Create Dynamics 365 Portal Pages using Portal Management (Wizard)”