
This may be a surprise to some, but the Internet is available in other languages beside English.
Shocking news! When this happen? Is this real or just “Fake” news?
The following is a step by step guide to enable multi-language in the Dynamics 365 Portal. These instructions also appear in the official documentation, but I added a lot of nice pictures and a few extra steps that might be easily missed. The process is very different and is much more straight forward than setting up multi-language in the legacy Adxstudio Portals.
Enabling Languages in Dynamics 365
The first step is to enable multilanguage on Dynamics 365. If you are planning to use entity forms, entity lists or web forms, you will need to translate your Dynamics 365 field labels as well to surface properly on the portal.
In Dynamics 365, navigate to Settings -> Administration and click on the Languages button.
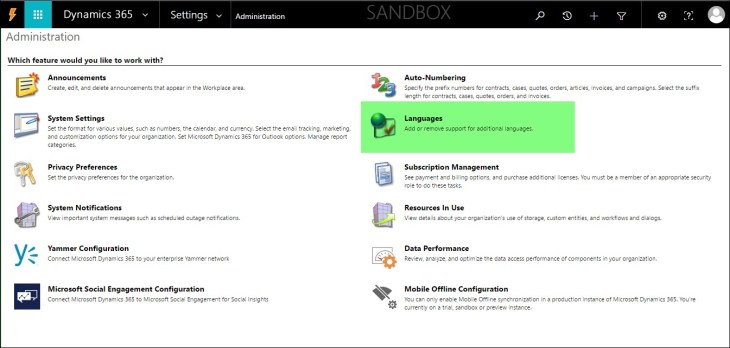
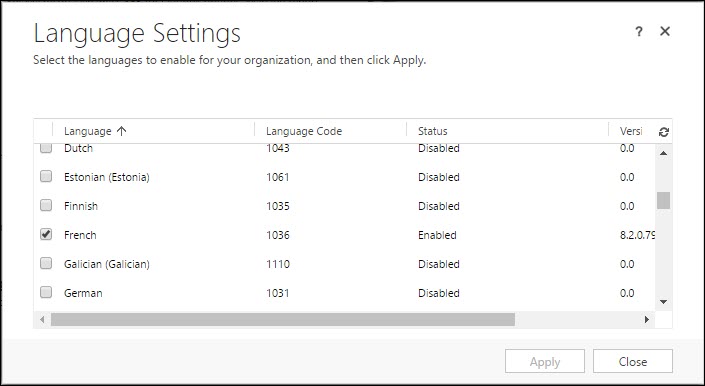
You then have a list of languages that you can enable for Dynamics 365. Choose the language(s) that you want to be available on your portal.
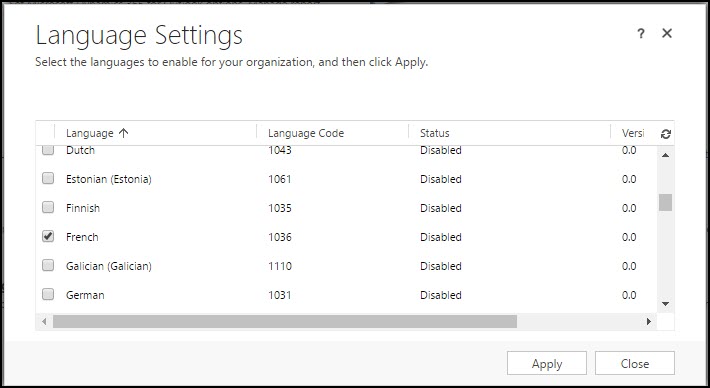
Once selected, click “Apply”. Note that this is something you should consider doing during a maintenance window.
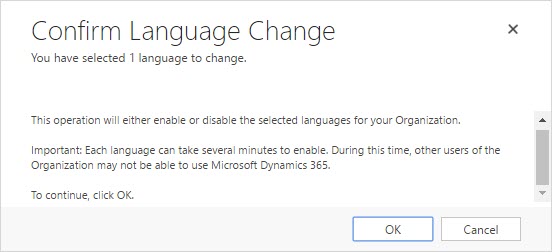
The language will be enabled. This may take a while.
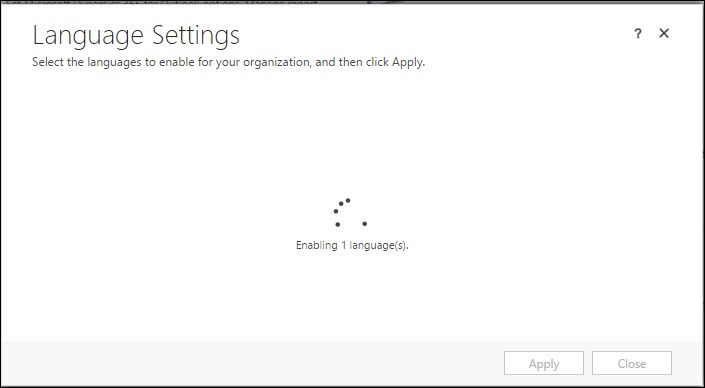
While you are waiting, might be a good time to sit back and relax with your favourite beverage.
After a few… minutes, the language(s) are enabled.
Enable Multilanguage on the Portal
Now that the language is enabled for Dynamics 365, you will now need to enable it for the Portal. Navigate to the website record (Portals -> Websites) You will see a sub-grid listing the supported languages. You will see the language that should match your Dyn365 default language.
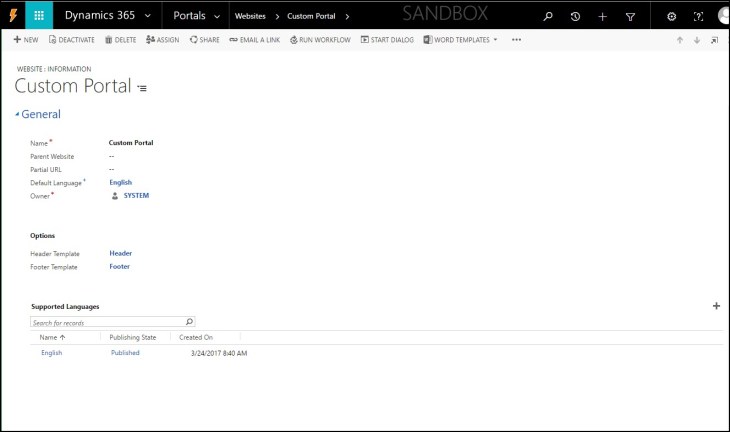
On the right side of the sub-grid, click the “+” icon to add additional languages to your portal. You will be able to choose the languages and also designate if the language is published or not.
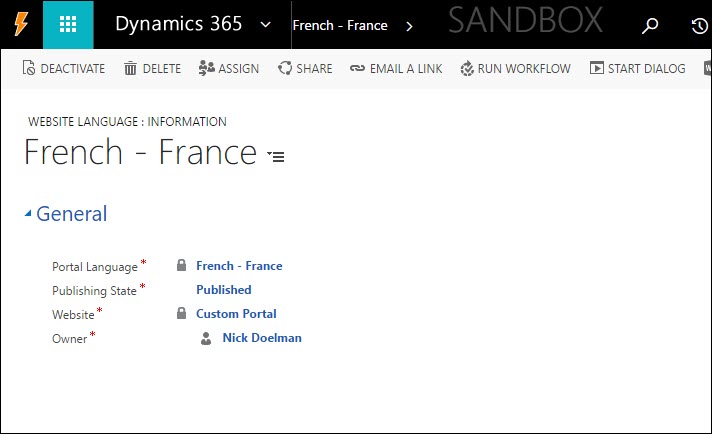
Once activated, you should see the language active on web site record.

Your web pages, web links and content snippets will be cloned for each language you activate. The web pages are hierarchical, so the cloning will only occur for defined depth limit as specified by the Site Setting (Portals -> Site Settings) named “MultiLanguage/MaximumDepthToClone”. The default is 3, but can be set to different values from -1 (no cloning) to the level you require. If you have a complex website, you will want to limit this value as you could get plugin timeouts.

You will see the cloned items for each language. Here is where actual “translating” content would need to occur. Despite there being translate tools on the web (e.g. Google Translate) I would HIGHLY recommend that you get these professionally translated. (My wife speaks French) I learned the hard way, nothing like telling someone that they “stink very nice” (thanks a lot Google translate).
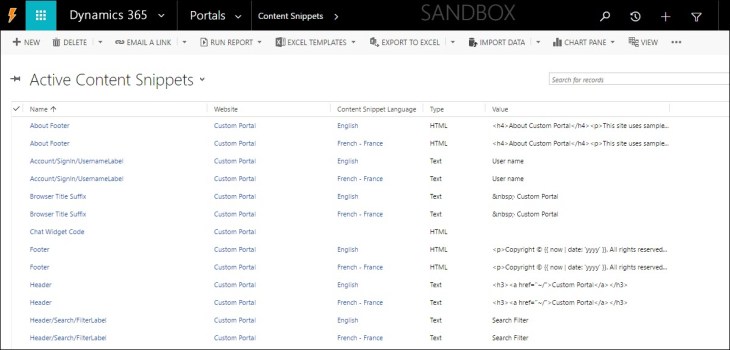
You would need to translate Web Links and Web Page content.
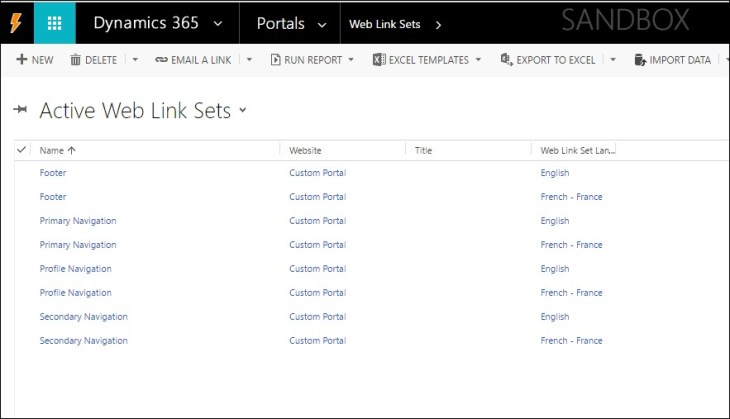
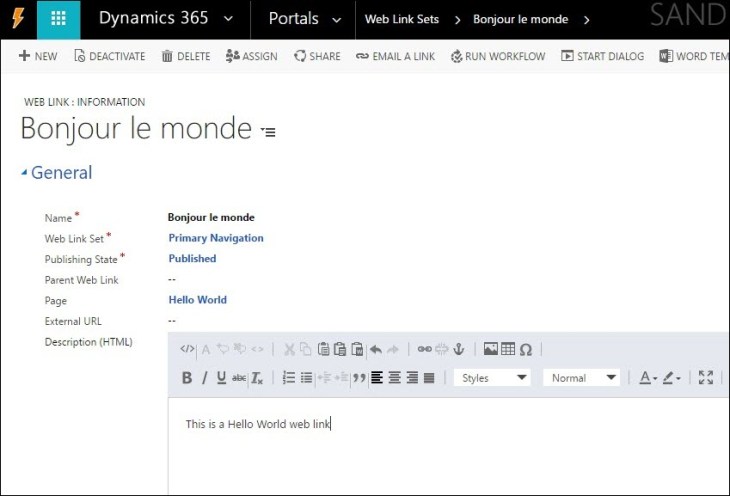
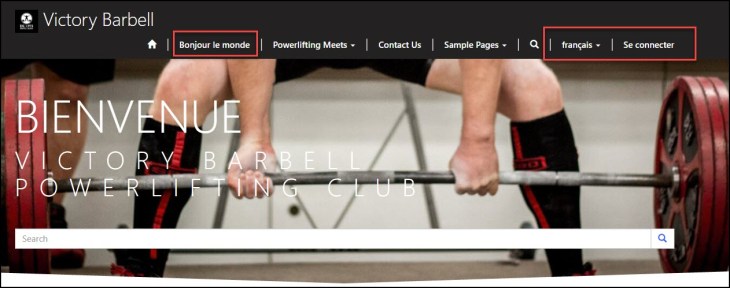
You will need to edit the names of the links or they will continue to appear in the default language. Below I updated “Hello World” to “Bonjour le monde”
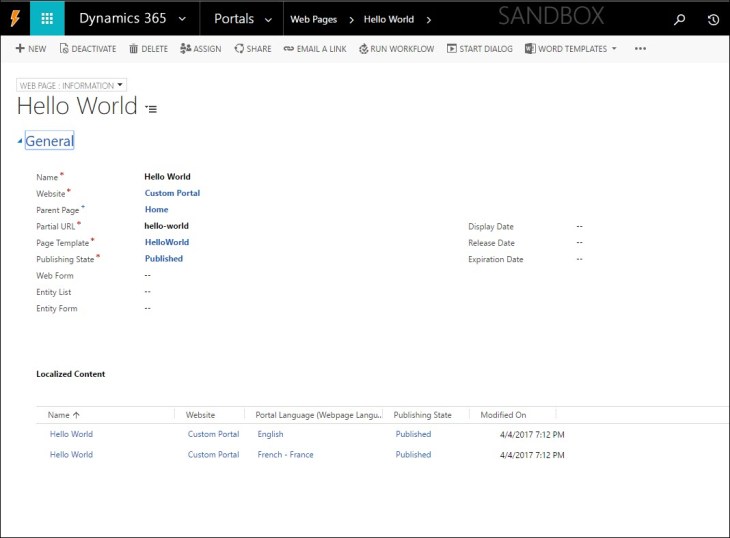
The web page structure has changed in Portals v8.2. There is now a “web page” record that will parent one or more “content” web page records. With additional languages enabled, the cloning feature will create a copy of the existing web page. However, the content will need to be updated.
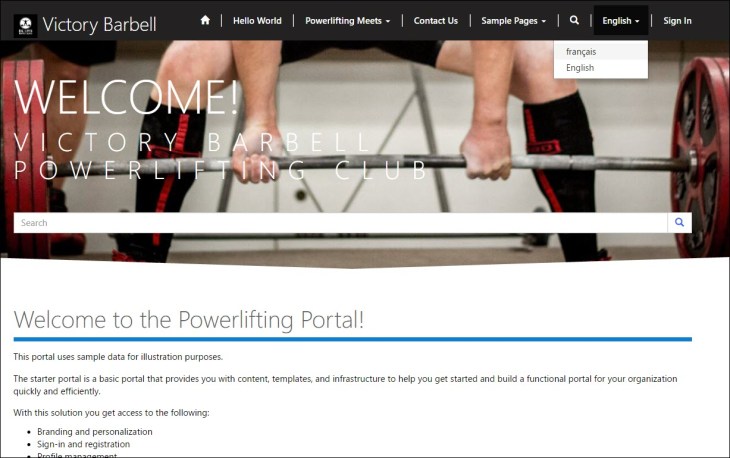
Navigating to the Portal, you will now have a dropdown on the main menu to choose the language that you want to view the portal in.
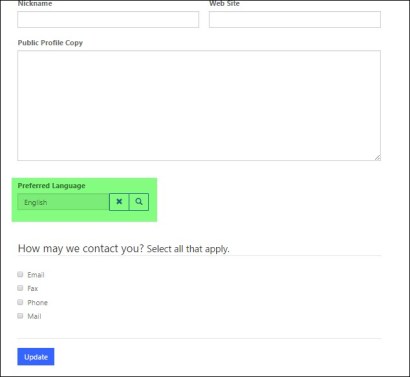
Note that if you login, you can set your preferred language in the profile page.
Once you select the language of the portal, the corresponding labels and web pages should appear in their regional contents *if* they have been translated.
Providing Portals in different languages is not only a great service to offer your clients but also in some juridictions manadatory to provide web applications in official languages. Thankfully this has been recognized by Microsoft and enabling multiple languages in Portals is a fairly straight forward process.
J’espère que ceci vous aidera!
Cheers
Nick
References:

One thought on “Setting Multilanguage in Portals”