

If you are using Dynamics CRM Online and want to deploy a (Microsoft) portal solution, you have 2 options, one is to subscribe to the CRM Online Portals add-on (v8) or you can implement and manage the hosting of Adxstudio Portals by Microsoft (v7).
If you currently use Microsoft Dynamics CRM onpremise you currently only have the option of Adxstudio Portals solution. Note that both of these solutions are very similar (CRM Online Portals is essentially Adxstudio Portals v8). However, there are differences and pros and cons for each in terms of functionality and licensing options. This is the topic of another blog post.
This particular posting provides the steps to setup the Adxstudio Portals by Microsoft (v7) connected to either CRM Online or CRM Onpremise. There are a lot of steps involved, which can become confusing to someone new to Adxstudio portals. Hopefully these instructions will get you up and running with a Portal solution quickly.
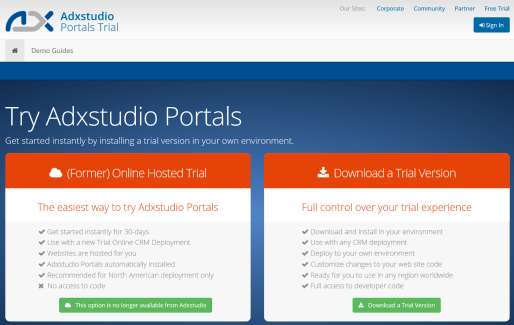
First, navigate to http://www.adxstudio.com and click “Free Trial” in the upper right hand corner. You will need to create a login for the Adxstudio site.
Choose “Download a Trial Version”.
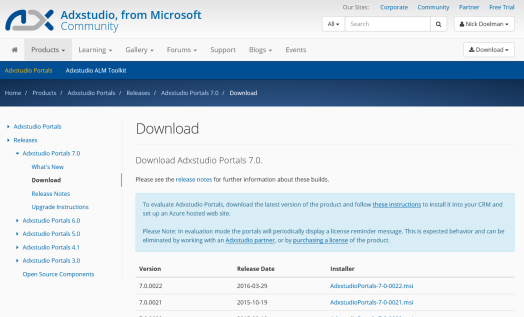
Choose the latest version (7.0.0023 will apparently be released soon) Previous versions are available for purposes of setting up upgrade tests and troubleshooting.
Once you have downloaded the package, run it. It will effectively unzip all the components you need to run a Adxstudio portal; CRM solutions, metadata and the master portal solution. 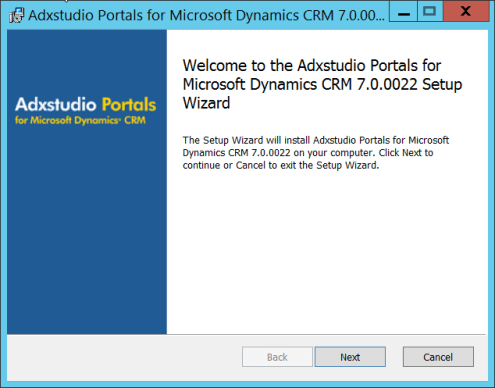
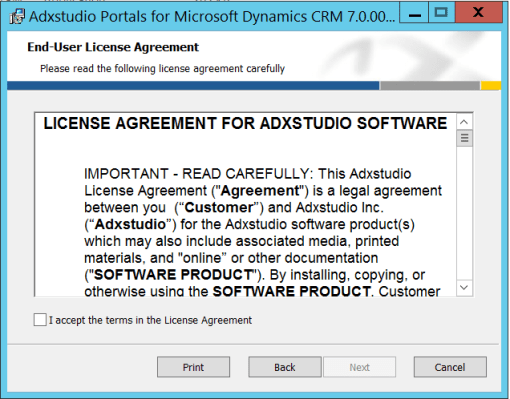
Carefully read the license agreement… it will note that installing Adxstudio means that you will commit to 3 years of service in the Saskatchewan military. ( Gotcha! )
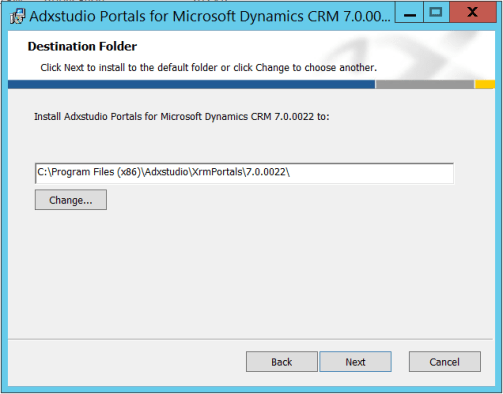
Select destination folder, typically the default folder is fine.
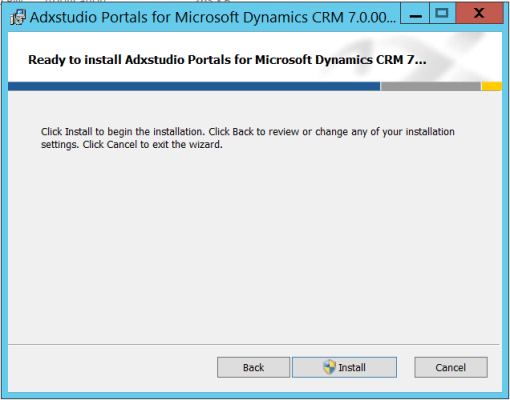
Click Install
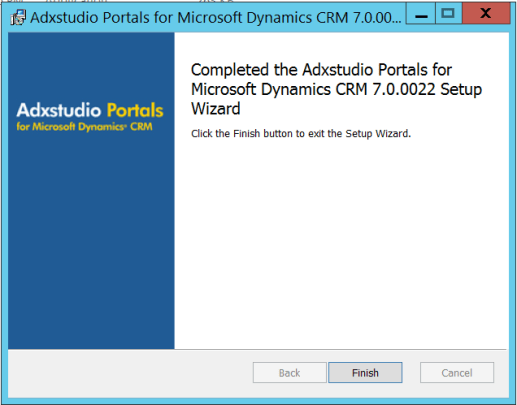
After a few minutes the package will have been installed on your workstation. Now what?
Launch Dynamics CRM that you want to install Adxstudio Portals onto. Import the “AdxstudioInstaller” solution located (if default location was chosen) in
“C:\Program Files (x86)\Adxstudio\XrmPortals\7.0.0022\Customizations”
(You DO know how to load CRM solutions, right?)
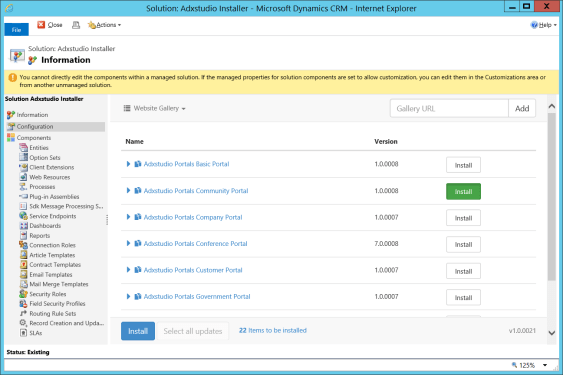
 Once the AdxstudioInstaller solution is loaded, click to open the solution. A listing of Adxstudio portal components will be listed. It is advisable to install a starter portal than just particular components. In the upper left hand corner, choose the “Website Gallery”
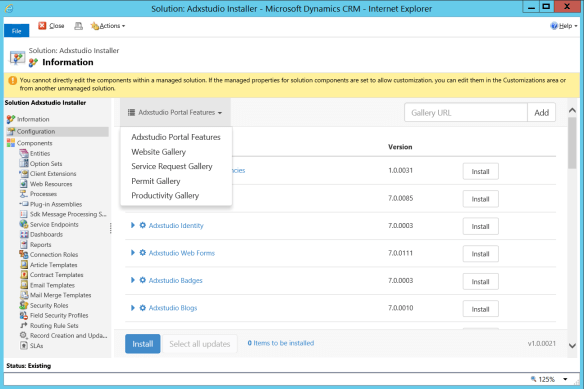
Choose a starter website. This will not only install the appropriate solutions, but also import the portal metadata (pages, templates, etc) that you can manipulate to suit your needs. There are many different pieces and components and it would be very tedious to put together a website from scratch. Note that you can utilize components from other websites templates. (E.g. Partner Portal components in a Customer Portal)
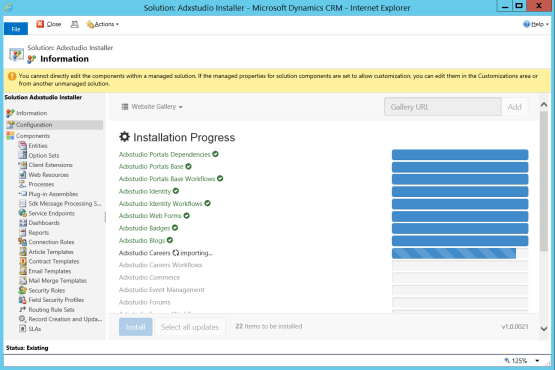
The solutions and metadata will install. This can take several minutes.
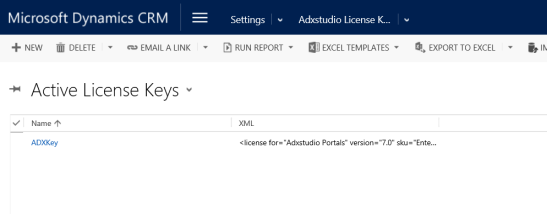
When the solutions and data have been imported, navigate to Settings -> Adxstudio License keys and create a new record. Paste in the trial license key you should have received from Adxstudio. If you have not received a trial key, reach out to their sales operations and they will send you one quickly. Without a key, you will get an annoying message.
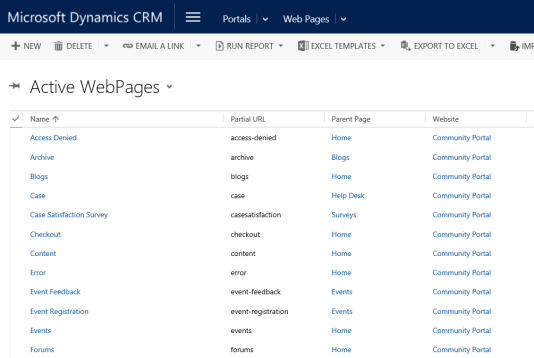
You will notice a new Area in your CRM called “Portals” along with some new entities and website records. This is the data that is the metadata and content for the starter portal
The final piece is setting up the actual Portal application itself. This is the Visual Studio web application solution that pulls its data and content from CRM. Typically this will be hosted in IIS or Azure. I hope to have some instructions up soon on how to setup a Portal deployment.
To get the portal running on your local workstation for testing and development, the easiest is to navigate to “C:\Program Files (x86)\Adxstudio\XrmPortals\7.0.0022\Samples” and run the “StartExpressPortal.cmd” This will launch the portal in IISExpress.
The first time you run it, it will ask for your particular connection details of your CRM system.

Once you have entered the details, after a few moments your portal should appear.
You now have a self hosted portal for testing and development.
Portals are a powerful extension to Dynamics CRM, but with an installer, solution imports and master portal, there are a lot components and many steps so it can get confusing.
In my next post, I will provide details on how to configure CRM Online Portals (v8), those steps are much easier and more automated.
Cheers
Nick


One thought on “Setting Up Adxstudio Portals (v7)”