
When working on a Portal project, eventually you will want it to be available to your stakeholders (whether it be the outside world or your staff). This blog posting will discuss a fairly easy method to deploy the Adxstudio v7 “Legacy” portal to Internet Information Services (IIS).
These particular steps assume that you do not have Visual Studio or do not need to modify or deploy any custom ASP.NET pages or user controls. These instructions simply will get the master portal deployed to IIS.
These instructions also do not cover details such as SSL certificates, firewalls or IP address configurations to get your IIS server to display web pages to the outside world. The internet has plenty of information to get your network environment configured appropriately.
The final requirement is that you will need to be able to access your Dynamics 365 (CRM) instance from your IIS server, whether it is on-prem or online.
The first part would be to follow the steps to install and configure your portal as outlined in my earlier blog post here. Whether you run the installer on your IIS server or your workstation doesn’t matter, as long as we can access the files that by default get located to the C:\Program Files (x86)\Adxstudio\XrmPortals\7.0.0022\Samples\MasterPortal\ directory.
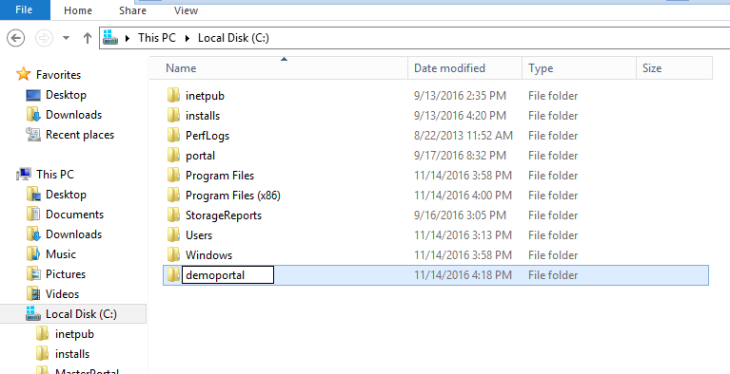
Next, grab a copy of the “MasterPortal” directory from where the Adxstudio files were installed. I like to copy so we always have a “clean” copy of the master portal in case we need to install multiple portals.

Paste the files to where you want the website to be located on the IIS server and rename the folder to something that indicates the portal being used. Note the location of this directory.
Now launch Internet Information Services Manager from the Admin Tools of Windows server. Installing and setting up IIS is beyond the scope of this blog but there are instructions on the web and on Technet outlining the process.
Right click on “Sites” and choose “Add Website…”

Give the site a name, and point the physical path to where the Master portal was copied to in the previous steps.
In my case, I already had a portal on Port 80 so I changed to Port 81. On a production server, I would have implemented Host Headers to segregate the multiple portal applications.

The website should be added and ready to go. Choose “Browse” to launch the portal.

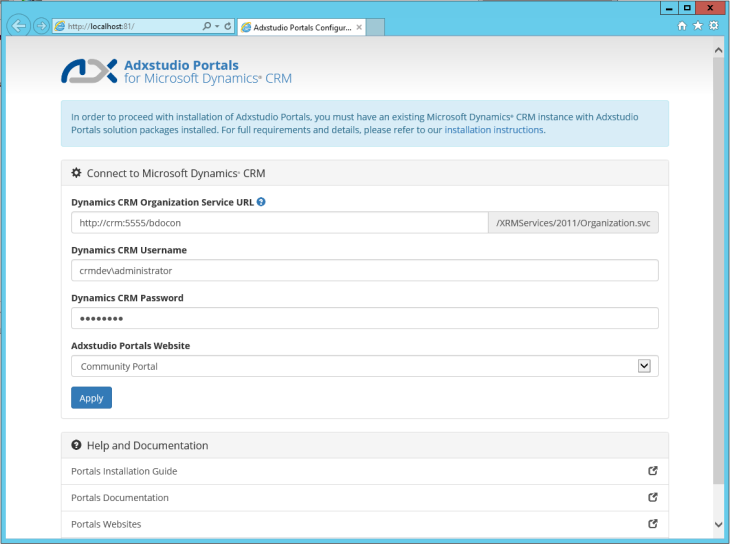
The first time the portal launches, it will prompt the user for credentials for the Dynamics 365 (CRM) instance. Enter in the details and the Portal will launch and be running on IIS!
If the IIS server is configured to server websites externally, you will be able to browse to the specified URL and view the Portal.
This is a simple and straightforward way to get a Portal running on IIS.
There are other methods where the Portal can be deployed to an Azure Web App or deployed from Visual Studio or deployed as an installer package. These methods are generally where you might have modified the ASP.NET page templates or user controls.
This method still allows full configuration and personalization of your portal.
Hope you will find these steps useful.
Cheers
Nick


One thought on “Deploying an Adxstudio Portal to IIS”